Showing posts with label Easel card. Show all posts

Friday, February 1, 2013

'BEE Better Soon!' Easel Card

   Light in a messenger’s eyes brings joy to the heart, 
and good news gives health to the bones.
Proverbs 15:30

‘…I will restore you to health and heal your wounds,’ declares the Lord…
Jeremiah 30:17


Welcome to Digi Desserts Fridaze in connection with MyPaper Crafting   We, on the Design Team, are to create a project using a Digital File from the vast selection at MyPaperCrafting.com every Friday, share them with You and encourage You to visit over there, get the FREE Digi File for today, make a project with it and link it for all to see.  It’s an easy and fun thing to do on the weekend!


      For this week’s project I decided to make a Get Well Card for a Dear Family              Member who has been having some severe health problems, lives far from me            and I needed to send a ‘snail mail hugggggg.’ 


Card front - closed

Card propped open

Card propped open


I used the ‘Flowers n Bees DS’ file and the new ‘Elements Deco 13 set cf’ from My Paper Crafting.  Here are the original files –


*  I put the digi file into my great Free program – ‘Perfect Effects Free’ from www.onOnesoftware.com – and used the ‘Brandon with Frame’ effect which softened and lightened it a bit, colored the background and added a fine black frame to it.

*  I Saved the newly ‘colored’ file and then put it into my PSE10 program.  I added the words, ‘BEE better soon!’ to the flower heads.  (Whiteboard font)

*  I printed it on white cardstock and left a margin of white around the frame.  I’ve seen a little machine that roughs the edges of cardstock and I don’t have one, but I roughed up the edges with a scissors.  I then inked the edges lightly with charcoal ink.

*  I put Glossy accents on the wings of the bees.

*  I cut the frame for it from black cardstock - to fit the card.  I mounted the Digi on the frame.  I mounted the Frame on pale yellow, faintly patterned wallpaper with edges inked with black. 

*  I adhered pale yellow gems to the frame corners.


Card open
Card open - showing fold and prop


*  I printed two verses (Papyrus font) – see above – on white cardstock and matted it on black.  I mounted that on another piece of the wallpaper with inked edges.

*  I cut two of the ‘2-part border,’ I added a couple extra pieces of black cardstock to the ‘bottom edge’ of the borders to reinforce them, and adhered them to the bottom edge of the card.   I used tiny Pop-Dots on the upper one, to make a ‘prop’ for the Easel.  I added yellow gems to the borders.

*  I will write my personal message and sign it in the space above the Verses – which is the backside of the front of the card. 


****************************


Here is the FREE digi-file for this week at My Paper Crafting.  Be sure to stop over there, if you haven’t already, see all of the other creative projects, get the file, make a project of your own using a digi-file from My Paper Crafting and then link it there so we can see it, too!


I'm so excited to tell you about a new twist this term.  We invite YOU to participate in our Digi Dessert Fridaze weekly posts.  Just create something using a digital image and link up at the end of the post. If you use a Paper Crafting World image, you will receive 2 chances to win.  That's right!  One lucky project will be selected each week to receive a digital image from Paper Crafting World.  If you use a PCW file, please add PCW after your name.   And, it will be so much easier to participate with our Link Up because there's a tab on the home page that will bring you directly to this DDF page.  You'll have until Thursday 12 noon (EST) to link up.  The lucky winner will be announced in the next PCW post on Friday.

There have been several Changes to the Rules as of this week, so be sure to read all of the info at MPC carefully so as to do things correctly and be in the running for the prizes!


*****************************


Be sure to come back here often as I showcase other Paper Crafted Projects and Photo Digital Restorations that I make – several days each week.  Sign up to receive my Posts so you’ll know when I’ve posted something – usually 3 to 4 times weekly.  Check out my Tabs in the Header above to see what else I do and can do for you!  Let me know if you have questions on anything here – or if I can do anything for You!  Have a Great Week!  See you again soon!

Tuesday, November 20, 2012

Sing...and Give Thanks! - Easel Card


…be filled with the Spirit,  speaking to one another with psalms, hymns, and songs from the Spirit. Sing and make music from your heart to the Lord,  always giving thanks to God the Father for everything, in the name of our Lord Jesus Christ.
Ephesians 5 : 18 - 20


Hello and Welcome to the Terrific Tuesday Challenge in conjunction with My Paper Crafting !  There are lots of wonderfully creative ideas on that blog, great Cutting and Digital files and links to the other Design Team members’ blogs.  I’m really enjoying my time there on the Design Team and am happy to have you visit my blog!

Our Challenge this week was to make a project using a turkey in some way!  I imagined making one using several different files in a unique way.  Easy, in theory, but it did take longer than I imagined.  What doesn’t??!  I enjoyed the ‘creative process’ – and learned a few things to do differently should I make another one sometime.  Here is the completed card – with assembly information following.


*  I used cream cardstock for the card.  I stamped the front with brown ink on my ‘Sheet Music’ stamp at various angles.  I also inked the edges of the card front and inside.  I scored and folded it at about 2/3 up from the bottom edge.
*  I cut the background from rust cardstock, using the ‘Scallop Circle Frame cf’ (outside edge.)
*  I cut the turkey tail from dark brown cardstock, using one of the ‘Doily 14 pt. Scallop cf’ patterns.  I cut a section of the completed circle to make a ‘fan shape’ for the ‘back feathers.’
*  I used the circle cut from that for the body of the turkey.  It was glued to a piece of cardboard to raise it up.  I made some ‘ribbon feathers’ and adhered it to the back of this.  I punched a scallop circle and cut it to make 2 wings, adhered with PopDots.
*  From the ‘Acorn’n’ Flourish cf,’ I cut one acorn bottom for the turkey head and one flourish – in medium brown – using 2 little branches for the turkey feet.  The head was attached with a Pop Dot.
*  I cut a wattle from red ribbon and added ‘googly eyes’ to the head for a bit of whimsy.


*  I cut 2 olive green flourishes for the bottom and added brown gems to the buds.
*  I adhered the turkey to the rust background piece and then the bottom half of it to the card front.


*  For the inside ‘prop,’ I typed the verse in WORD, printed it, cut it and inked the edges lightly.  I cut a dark brown mat and used my corner-rounder on both pieces.  I adhered it with PopDots to raise it up.  I added some punched music notes.


Here are the cutting files I used –


Now YOU make a project with this Theme, link it at My Paper Crafting and share it with all of us!  You can get this week’s FREE file to use in your project if you’d like –  ‘Thanksgiving’ -


 Come again for our Digi Dessert Fridaze – on Fridays!


REMEMBER!!   The ’25 Days of Christmas’ event over at My Paper Crafting!  This will be our 3rd annual 25 Days event.   We are excited and the designers have begun to work on their creations!  It is so exciting to see the photos start rolling in.  I can’t tell you how excited I am about their creative work!

For those unfamiliar with our event, we showcase projects every day starting on December 1st (Day 1) and going each and every day through December 25th.   Every day we will be offering a FREE Die Cut file, a FREE Digital Stamp and/or graphic.   Each week we will be offering prizes to those who are our followers and leave comments.   In short, it is a spectacular event that will give you creative inspiration for the holidays AS WELL as ideas and inspiration for crafting through out the whole year!   You definitely don’t want to miss it!  Be sure to join us –

Be sure to be a follower of her blog AND sign up for her newsletter.  We will be announcing our posts daily and leaving a comment every day when you pick up your free files will assure you a greater opportunity to win some of the prizes!   Let me know if you have any questions -

You can see a complete list of wonderful designers at My Paper Crafting!

Monday, May 21, 2012

Jonah Study...Farewell...

 
2“In my distress I called to the Lord,  and he answered me.
From deep in the realm of the dead I called for help, and you listened to my cry.
You hurled me into the depths, into the very heart of the seas, and the currents swirled about me;
all your waves and breaker swept over me.
I said, ‘I have been banished from your sight; yet I will look again toward your holy temple.’
The engulfing waters threatened me,  the deep surrounded me; seaweed was wrapped around my head.
To the roots of the mountains I sank down; the earth beneath barred me in forever.
But you, Lord my God, brought my life up from the pit.
“When my life was ebbing away, I remembered you, Lord, and my prayer rose to you, to your holy temple.
“Those who cling to worthless idols turn away from God’s love for them.
But I, with shouts of grateful praise, I will sacrifice to you.
What I have vowed I will make good.  I will say, ‘Salvation comes from the Lord.’”
                                                                  Jonah 2:2-9

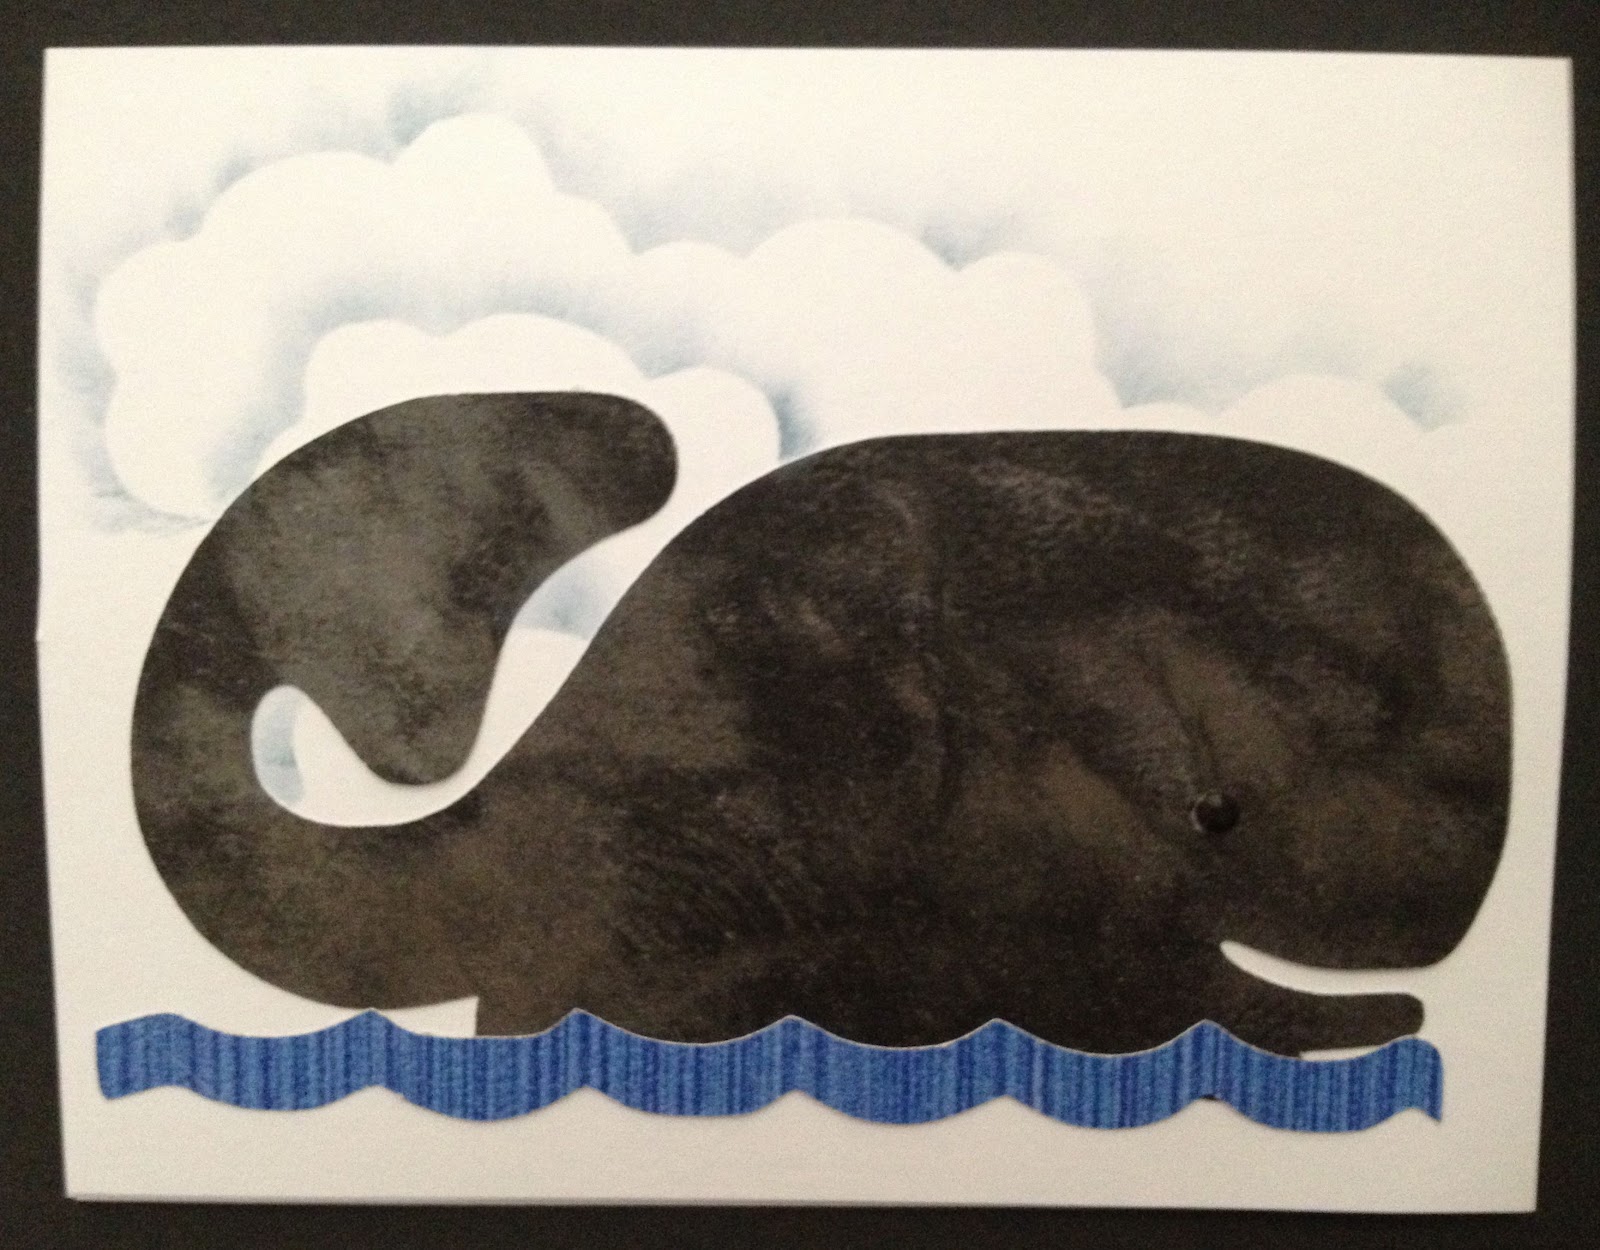
I’ve been attending a weekly Bible Study on the book of Jonah the past several months at my church.  Last week was the last session of it and I wanted to give a ‘little something’ to the women who have welcomed me to their table and have been new friends to me.  I have made them each one of these cards as a remembrance of our time together.


I decided to make an Easel Card.  In thinking about what to include on them, I remembered that I had a cute Whale svg file - Yes, I know that although we commonly say that Jonah was swallowed by a Whale, it wasn’t actually a Whale, but a Big Fish…  This seemed a cute file to use - and I knew I’d change the spelling of the sentiment to go along with it - for a tad of humor.   “I WHALE-Y…enjoyed this study with you!”   I had some Wave .svg files and chose a simple one to include.

I inked some clouds in the sky.  I looked through my Many fonts for something ‘water-themed’ and then decided to use the Worms font in the sentiment, in keeping with the ‘worm that attacked the plant where Jonah found shelter and made it wither.’  The verse reference on the sentiment pad is Jonah’s prayer while in the Big Fish and one that could be applicable to my life and perhaps others who are in hard circumstances…  The ladies all loved the cards!  ;-}

Have you shared a creative ‘little something’ with friends who have encouraged You?